
Imagine you plan a solar installation and suddenly face extra fees or delays. These hidden costs can quickly change your budget. You might see charges for permits, grid upgrades, or even terrain challenges. Regular maintenance, landscaping, and internet monitoring add more solar expenses. When you use transparency and careful planning, you build trust and reduce financial surprises. The Solar Ground Mount system needs clear steps to avoid these issues. You make better choices and protect your solar investment by uncovering every cost.
Key Takeaways
Inspect your land early to identify potential site preparation costs. This step helps you avoid unexpected expenses.
Research local permitting and regulatory fees before starting your project. Understanding these costs can save you money.
Contact your utility provider to learn about interconnection fees. Early communication helps you plan your budget effectively.
Conduct soil tests to assess ground conditions. Knowing your soil type can prevent costly installation issues.
Plan for ongoing maintenance costs. Regular upkeep ensures your solar system operates efficiently and maximizes energy production.
1. Site Preparation Costs
Land Grading & Clearing
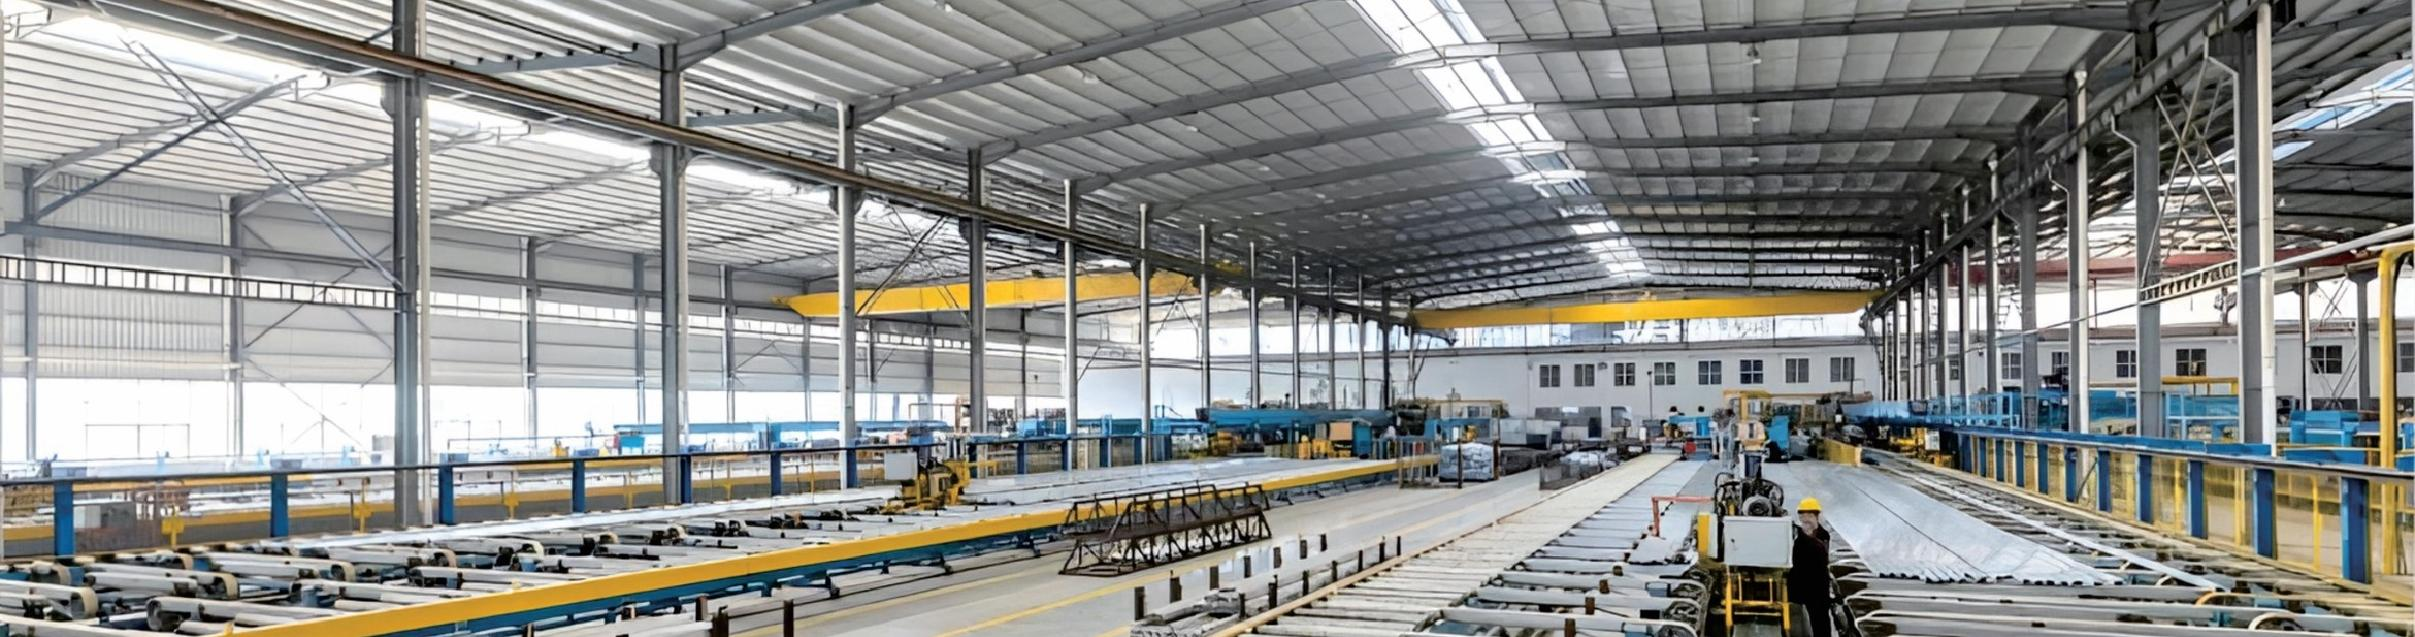
When you start a solar ground mount project, you must prepare the land. This step affects the cost of installing your system. You need to clear trees, remove rocks, and grade the ground. Uneven land makes the process harder. Rocky terrain increases expenses because you need special equipment and more labor. You may also need to build strong foundations for ground-mounted solar systems. These steps add to your solar project costs and can change your investment plan.
Here is a table showing the main factors that influence land grading and clearing costs:
You must consider these factors before you begin installation. Each one can change the cost breakdown solar farm owners face.
Uncover & Reduce Costs
You can lower site preparation costs with smart planning. First, inspect the land and test the soil. This step helps you avoid surprises and manage photovoltaic system expenses. Choose a site with flat terrain and good drainage. You save money on grading and avoid flooding problems. Work with local experts who know the rules and can help you get permits faster. Use incentives and financing to reduce upfront costs and soft costs. These steps protect your solar energy investment and help you find savings.
Inspect the site early to spot problems.
Ask for detailed quotes from contractors.
Compare different mounting systems for the best fit.
Use incentives to lower your expenses.
Plan for long-term energy savings.
You make better decisions when you understand every cost. Careful planning helps you control solar project costs and get the most from your solar energy investment.
2. Permitting & Regulatory Fees
Solar Project Costs Breakdown
You need to plan for permitting and regulatory fees when you start a solar ground mount project. These costs can surprise you and change your total solar project costs. Fees depend on your system size and location. Local rules and state laws set the price for permits. You may pay more if your project is large or in a strict area.
Here is a table showing typical permitting fees for solar ground mount systems in the United States:
You see that costs can add up fast. Residential systems often cost between $400 and $1,250 for permits. Larger residential projects may reach $2,000. Commercial systems use a per-watt fee, which grows with system size.
Local zoning laws also affect your costs. Some areas require special use permits or environmental reviews. These rules can add more expenses and slow down your installation. You may face height limits or setback rules that change your design and increase the cost of installing your system.
Uncover & Reduce Costs
You can lower these costs with careful steps:
Check local zoning laws before you start your project.
Ask your installer for a full list of all permitting fees.
Look for incentives that help cover regulatory expenses.
Use financing to spread out soft costs over time.
Choose a site with fewer restrictions to save money.
Tip: You can save money and protect your solar energy investment by planning ahead. Early research helps you avoid delays and extra costs. This step leads to more savings and a better return on your investment.
Permitting and regulatory fees may seem small, but they can change your total costs. You make smarter choices and get more value from your solar ground mount system when you uncover every fee.
3. Utility Interconnection Costs
Connection Fees
You need to connect your solar ground mount system to the local utility grid. This step brings extra costs that many people miss. Utility companies charge connection fees to review your plans and link your system to their network. These costs can change based on your location, the size of your system, and the rules set by your utility provider.
The interconnection process is not the same everywhere. Each state has its own rules and timelines. Local authorities may set special standards for permitting and inspections. This can lead to different costs and delays for your installation. Some utilities require a technical review of your system. This review checks if the grid can handle your energy. If your area has a complex grid, you may pay more for this analysis. These steps can raise your solar project costs and affect your investment.
Here is a table showing common utility interconnection expenses:
You may also face extra costs if the utility needs to upgrade wires or transformers. These upgrades can add thousands to your total cost of installing ground-mounted solar systems.
Uncover & Reduce Costs
You can lower these costs with smart steps:
Contact your utility early to learn about all fees.
Ask for a full list of interconnection expenses.
Compare costs from different utilities if you have a choice.
Use incentives to help cover connection fees.
Look for financing options to spread out soft costs.
Tip: Early planning helps you avoid delays and surprise expenses. You protect your solar energy investment and find more savings when you know every cost.
Utility interconnection costs can change your total investment. You make better decisions and get more value from your solar system when you uncover these hidden costs.
4. Soil Issues & Geotechnical Testing
Ground Conditions Impact
You need to check the soil before you install a solar ground mount system. Soil conditions can change your total costs. The type of soil at your site affects how you anchor the mounts. Sandy or loose soil may need deeper foundations. Rocky ground can require special tools and more labor. These factors raise your installation pricing and add to your solar project costs.
Soil stability tests are important for safe installation. You must pay for these tests to make sure your system will last. If the soil is weak, you might need to improve it before building. This step adds to your expenses and increases ongoing costs. Good soil helps you avoid problems and protects your investment in solar energy.
Uncover & Reduce Costs
You can control costs by learning about your soil early. Here are some ways soil issues and geotechnical testing affect your budget:
Decommissioning costs for solar farms can range from $60,000 to $150,000 for a standard 2-megawatt installation.
Restoration expenses depend on soil conditions. Projects on disturbed land usually need less work.
Site restoration costs often range from $4,000 to $10,000, based on how you plan to use the land later.
You should ask for a soil report before you start your project. This report helps you plan for all costs and avoid surprises. Use incentives and financing to help cover testing and soil improvement. These steps lower soft costs and protect your investment. You can also compare different ground-mounted solar systems to find the best fit for your site.
Tip: Early soil testing helps you avoid delays and extra expenses. You make better choices and get more value from your solar energy investment when you know every cost.
Soil issues can change your total cost and affect your energy system’s performance. Careful planning helps you manage costs and get the most from your solar installation.
5. Maintenance for Ground-Mounted Solar Systems
Regular Upkeep Costs
You need to plan for ongoing costs when you own ground-mounted solar. These costs go beyond the initial installation. Regular upkeep keeps your solar system working well and protects your investment. Here are the main costs you should expect:
Insurance: You pay for insurance to cover damage from storms, fire, or theft. This cost helps you avoid large expenses if something goes wrong.
Vegetation Management: Grass and weeds can block sunlight. You need to cut or remove plants around your solar panels. This cost keeps your energy production high.
Internet Monitoring Fees: Many solar systems use online tools to track performance. You pay a fee for this service. It helps you spot problems early and fix them fast.
You may also pay for cleaning panels and checking wires. These costs add up over time, but they keep your solar energy system running at its best.
Uncover & Reduce Costs
You can lower maintenance costs with smart choices. Start by asking your installer for a full list of upkeep costs. Compare service plans from different companies. Choose low-maintenance plants for landscaping to reduce vegetation management costs. Use monitoring tools to catch small problems before they become big expenses.
Regular maintenance gives you more energy and better returns. When you keep your solar system in top shape, you can see a 10–15% increase in energy production. This means you get more value from your investment. You also avoid downtime and improve your payback period. Good maintenance makes your solar energy system a strong, long-term solution.
Tip: Plan for all maintenance costs from the start. This step helps you avoid surprises and keeps your solar energy investment safe.
6. Landscaping & Aesthetic Expenses
Design & Upkeep Costs
You may want your solar ground mount system to blend into your yard. Landscaping can help, but it brings extra costs. Ground-mounted solar panels often stand out more than rooftop systems. The height and size of these systems can change the look of your lawn or garden. You might need to add shrubs, fences, or decorative rocks to hide the panels. These changes increase the cost of your solar project.
Many homeowners care about how their property looks. Ground-mounted systems can disrupt the harmony of a well-kept yard. You may need to pay for regular upkeep to keep plants trimmed and the area neat. Some people choose to plant fast-growing bushes or install trellises. These options add to your costs but can make your solar system less noticeable.
Here are common landscaping expenses for solar ground mount systems:
Planting shrubs or hedges to hide panels
Installing fences or screens
Adding mulch or decorative stones
Regular trimming and maintenance
You must plan for these costs when you think about your total investment. Good landscaping can help your solar system fit in, but it will raise your energy costs over time.
Uncover & Reduce Costs
You can balance visual appeal and budget with smart choices. Start by placing your solar panels where they are less visible. Use the natural shape of your land to hide the system. Choose low-maintenance plants that do not need much water or care. This step lowers your upkeep costs and saves energy.
Ask your installer about incentives for landscaping or energy storage systems. Some programs help cover part of the cost. You can also combine landscaping with other upgrades, like batteries, to boost energy independence. This approach helps you get more value from your investment.
Tip: Careful planning lets you enjoy both a good-looking yard and lower costs. You support energy independence and keep your solar system working well for years.
7. Ecological Impact & End-of-Life Costs
Environmental Considerations
You need to think about how solar ground mount projects affect the environment. These systems can change the land and local wildlife. Here are some common ecological impacts you may see:
Disruption of wildlife habitats. Large solar projects can move animals from their homes. Developers often check for protected species before building.
Soil degradation. Construction and shading from panels can harm soil health. Some solar farms plant native grasses to keep the soil strong.
Water runoff and flooding. Hard surfaces under panels can cause more water to flow off the land. You can use special drainage and ground covers to help stop this.
You must also plan for what happens when your solar panels reach the end of their life. Old panels and parts need safe disposal. If you do not follow rules, you may face extra costs and harm the environment.
Uncover & Reduce Costs
You can lower environmental costs with smart strategies. Many solar farms use agrivoltaics. This means you grow plants or raise animals under the panels. You can earn more income and help the land at the same time. Here is a table showing how different agrivoltaic methods help:
You also need to follow rules for recycling and waste. The government has laws for handling old solar panels and parts. Here is a table with some main rules:
Tip: Plan for recycling and safe disposal before you build. You protect the land and avoid surprise costs. You also make your solar energy project better for the planet.
You can make smart choices that help both your wallet and the environment. Careful planning keeps your energy system safe and strong for years.
You make smarter solar investments when you uncover hidden costs. This helps you see the full financial picture and avoid surprises. Use detailed bills of quantities to control costs and keep your project on track:
Work with solar professionals to save on labor and equipment. Explore financing options like solar loans, leases, and government incentives. Careful planning and ongoing management protect your investment for years.
FAQ
What is the biggest hidden cost in solar ground mount systems?
You often face high site preparation costs. Land grading, clearing, and soil testing can surprise you. These steps change your budget quickly. Always inspect your land before you start.
How can you lower maintenance costs for your solar system?
You can choose low-maintenance plants and use monitoring tools. Ask your installer for a full list of upkeep costs. Compare service plans to find the best value.
Tip: Regular cleaning and early problem detection help you save money.
Do you need special permits for ground-mounted solar panels?
Yes, you need permits from local authorities. Fees depend on your location and system size. Always check zoning laws and ask your installer for a breakdown of all permitting costs.
What happens to solar panels at the end of their life?
You must recycle or safely dispose of old panels. Some states have special rules for solar waste. Plan for recycling costs early to avoid surprises.
Can landscaping affect your solar system’s performance?
Yes, tall plants or trees can block sunlight. You should keep the area around your panels clear. Use low-growing plants and trim bushes often to protect your energy output.
