
Looking for the fastest and most reliable way to install solar panels on tile roofs? You’ll want to check out these top three no-drill options: ClickFit Tile Replacement Mount, EcoFasten Tile Flashing System, and QuickBOLT No-Drill Mount. Installers love these tile roof solar mounting brackets because they help avoid broken tiles, preserve roof integrity, and match different tile shapes. These solutions make your solar project safer, reduce leaks, and keep your roof looking great.
Key Takeaways
Choose the right tile roof solar mounting bracket to save time and avoid headaches. Options like ClickFit, EcoFasten, and QuickBOLT offer unique benefits.
QuickBOLT No-Drill Mount is the fastest option, allowing installs in about 20 seconds. This saves time and reduces the risk of damaging tiles.
EcoFasten Tile Flashing System provides excellent waterproofing by replacing a full tile with a custom flashing piece, ensuring a tight seal.
ClickFit Tile Replacement Mount is known for its speed and reliability, making it a favorite among installers for both residential and commercial projects.
Always inspect the underlayment before installation to catch any potential leaks early. Proper preparation leads to a successful and leak-free solar panel setup.
Comparison: tile roof solar mounting brackets
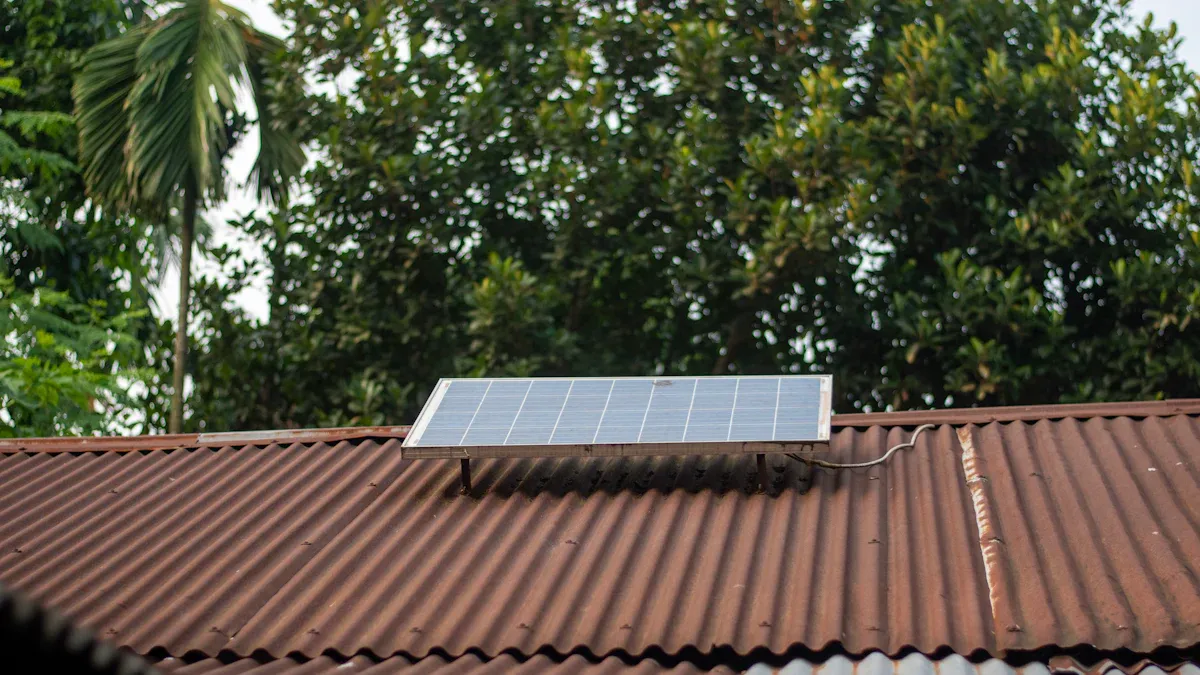
Choosing the right tile roof solar mounting brackets can save you time and headaches. Let’s break down how the top three options stack up side by side.
Bracket Name | Install Speed | Waterproofing Features | Adjustability | Material | Supplier Availability |
|---|---|---|---|---|---|
ClickFit Tile Replacement | Fast (30 min/kit) | Moldable flashing, sealing washers | High | Aluminum Alloy | Widely available |
EcoFasten Tile Flashing | Quick (45 min/kit) | Patented silicone gasket, ASTM E2140 certified | Medium | Stainless Steel | US & EU suppliers |
QuickBOLT No-Drill Mount | Fastest (20 min) | Integrated flashing, leak-proof design | Medium | Galvanized Steel | US suppliers |
Install Speed
You want a fast install, right? QuickBOLT No-Drill Mount leads the pack. Most installers finish in about 20 minutes per mount. ClickFit Tile Replacement Mount comes close, usually taking around 30 minutes. EcoFasten Tile Flashing System takes a bit longer, but you still get a speedy setup. These brackets use no-drill designs, so you don’t waste time with extra tools or patching holes.
Tip: Ready-to-deliver kits mean you spend less time sorting parts and more time getting panels on the roof.
Waterproofing
Keeping your roof leak-free matters. Each bracket uses special waterproofing features. ClickFit uses moldable flashing and sealing washers to block water. EcoFasten’s system includes a patented silicone gasket and meets ASTM E2140 standards for water resistance. QuickBOLT’s integrated flashing keeps water out, even during heavy rain.
Moldable flashing and sealing washers protect against leaks.
Patented silicone gaskets offer dynamic waterproofing.
Integrated flashing creates a tight seal for peace of mind.
Supplier Info
You want brackets that are easy to order and arrive quickly. ClickFit and EcoFasten have suppliers in the US and Europe, so you can get what you need fast. QuickBOLT is popular with US suppliers and often ships ready-to-deliver kits. Most suppliers offer custom options if your roof has special needs.
Note: All three brackets work with different tile shapes and roof types, so you don’t have to worry about compatibility.
You can see how these tile roof solar mounting brackets make installs faster, safer, and more reliable. Pick the one that fits your project and roof best.
1. ClickFit Tile Replacement Mount
Overview
You want a mount that makes solar installs easy and quick. The ClickFit Tile Replacement Mount stands out because it’s designed for speed and reliability. You can use it on many roof types, and installers love how it helps avoid broken tiles. This mount is a favorite for both residential and commercial projects.
Features of tile roof solar mounting brackets
Let’s look at what makes ClickFit different from other tile roof solar mounting brackets. Here’s a quick table to show you the standout features:
Feature | Description |
|---|---|
Fast Installation | One of the fastest installing rail-based systems in the industry. |
Pre-installed Rail Bolt | Lets you set up and clamp rails quickly and securely. |
Robust Materials | Made of aluminum and coated steel for long-lasting corrosion resistance. |
Extreme Weather Testing | Proven to work in wind, fire, and snow conditions. |
Compliance | Meets UL 2703 and UL 3741 safety and performance standards. |
Tip: You don’t need special tools for assembly. The Click-In Rail system lets you snap everything together fast.
The ClickFit Smart Foot uses UltraGrip Technology™. This creates a watertight seal when you install it on composition shingle roofs. The foam cushioning presses the waterproofing sealant into the shingle granules, so you get extra leak protection.
Installation Steps
Remove the existing tile where you want to place the mount.
Position the ClickFit mount in the open space.
Secure the mount using the pre-installed rail bolt.
Snap the rail into place with the Click-In Rail system.
Replace the tile or use a replacement cover if needed.
Check the seal and make sure everything is watertight.
Note: You can finish most installs in about 30 minutes per kit.
Pros and Cons
Here’s a quick look at what users like and dislike about ClickFit:
Advantages | Description |
|---|---|
Compliance | Meets UL 2703 standards |
Installation Speed | Fastest rail-based system |
Tool-Free Assembly | Click-In Rail system means no extra fasteners or tools |
Material Quality | Aluminum and coated steel resist corrosion |
Weather Resistance | Tested in wind, fire, and snow |
Cons:
May cost more than basic mounts
Some roofs need extra tile covers
Not always available outside the US and EU
You get a mount that’s fast, safe, and built to last. If you want a reliable solution for tile roof solar mounting brackets, ClickFit is a top choice.
2. EcoFasten Tile Flashing System
Overview
You want a mounting system that keeps your roof dry and your install fast. The EcoFasten Tile Flashing System does both. This system swaps out a full tile for a custom flashing piece. You get a waterproof seal and a strong base for your solar panels. Many installers like this system because it lets you use leftover tiles for future repairs. You can trust it for both new builds and older homes.
Key Features
Here’s why the EcoFasten Tile Flashing System stands out:
Replaces a complete tile with a flashing piece for a tight, waterproof fit.
Lets you save and reuse original tiles for repairs later.
Meets strict flashing standards (UL 441, Section 25) for reliable waterproofing.
Works with many tile shapes and sizes.
Reminds you to check the underlayment before you start, so you catch leaks early.
Tip: Always inspect the underlayment before installing any tile roof solar mounting brackets. This step helps you avoid hidden leaks.
Installation Steps
Remove the tile where you want to place the mount.
Inspect the underlayment for any damage or weak spots.
Set the EcoFasten flashing piece in place of the tile.
Attach the mounting hardware to the roof deck through the flashing.
Seal all fasteners and check the fit.
Place the solar rail or bracket on top and secure it.
You can finish most installs in about 45 minutes per kit. The process is simple, and you don’t need special tools.
Pros and Cons
Pros | Cons |
|---|---|
Excellent waterproofing | Takes a bit longer than some systems |
Meets industry standards | May cost more than basic brackets |
Saves original tiles for repairs | Not always in stock everywhere |
Works with many tile types | Requires careful underlayment check |
If you want a reliable and waterproof solution, the EcoFasten Tile Flashing System is a smart pick. It gives you peace of mind and keeps your roof safe for years.
3. QuickBOLT No-Drill Mount
Overview
You want a solar mounting bracket that makes your job simple and quick. QuickBOLT No-Drill Mount gives you just that. This bracket is famous for its no-drill design and super-fast installation. You don’t need to worry about damaging tiles or spending hours on the roof. Many installers choose QuickBOLT for residential projects because it works with most tile shapes and keeps the roof looking neat.
Key Features
Here are the top features you get with QuickBOLT No-Drill Mount:
No-drill installation means you avoid making holes in tiles.
Microflashing technology creates a watertight seal.
Works with clay, concrete, and Spanish tiles.
Compact design fits tight spaces and tricky roof layouts.
All-in-one kit includes everything you need for the job.
Tip: You can use QuickBOLT on new roofs or older homes. The bracket adapts to different tile types, so you don’t need extra parts.
Installation Steps
You’ll love how easy it is to install QuickBOLT No-Drill Mount. Here’s how you do it:
Locate the spot for your bracket on the tile.
Lift the tile gently and slide the mount underneath.
Press down to secure the bracket in place.
Attach the Microflashing to seal out water.
Fasten the solar rail to the bracket.
Professional installers say you can finish the install in less than 30 seconds. That’s faster than any other tile roof solar mounting brackets on the market!
Pros and Cons
Pros | Cons |
|---|---|
Fastest install time | May not fit all tile shapes |
No drilling needed | Limited adjustability |
Leak-proof Microflashing | Only available from US suppliers |
Simple, compact design | May cost more than basic mounts |
QuickBOLT No-Drill Mount helps you save time and avoid leaks. If you want a hassle-free way to install solar panels on tile roofs, this bracket is a smart choice.
Supplier Guide
Trusted Suppliers
You want to work with suppliers you can trust. Here are three companies that stand out for quality and service when it comes to tile roof solar mounting brackets:
Supplier Name | Description |
|---|---|
HQ Mount | Offers certified, reliable solar mounting systems for all roof types. You get safety and efficiency with every order. |
NOVA | Delivers tile roof mounting systems designed for speed and safety. You can choose from penetrative or non-penetrative options. |
CHIKO Solar | Specializes in mounting brackets for sloped roofs, including tile and corrugated asbestos cement tiles. |
Tip: These suppliers have a strong reputation for fast shipping and dependable products.
Contact & Ordering
Ordering your mounting brackets is simple. Most suppliers offer ready-to-deliver kits, so you can start your project right away. If you need something special, you can ask for custom options. Here’s what you should know:
Lead Time: You usually get your order in 7 to 20 days.
Shipping Ports: Most orders ship from Xiamen or Shanghai, but you can ask for other ports if needed.
Custom Options: You can request brackets for any roof type. Many hooks adjust up to 20mm for a perfect fit. You can pick different finishes, like mill or black anodized, to match your roof.
Durability: These brackets handle strong winds and heavy snow. They come with certifications like TUV, UL 2703, and more.
Feature | What You Get |
|---|---|
Fast Delivery | Ready-to-deliver kits for quick installs |
Customization | Adjustable hooks and finishes for any roof |
Quality Assurance | 10-year warranty and 20-year service life |
Note: You can contact suppliers directly through their websites. Ask about bulk pricing or sample kits if you have a big project.
You get peace of mind when you choose trusted suppliers for your tile roof solar mounting brackets. Fast shipping, custom options, and strong warranties make your install easy.
Installation Tips
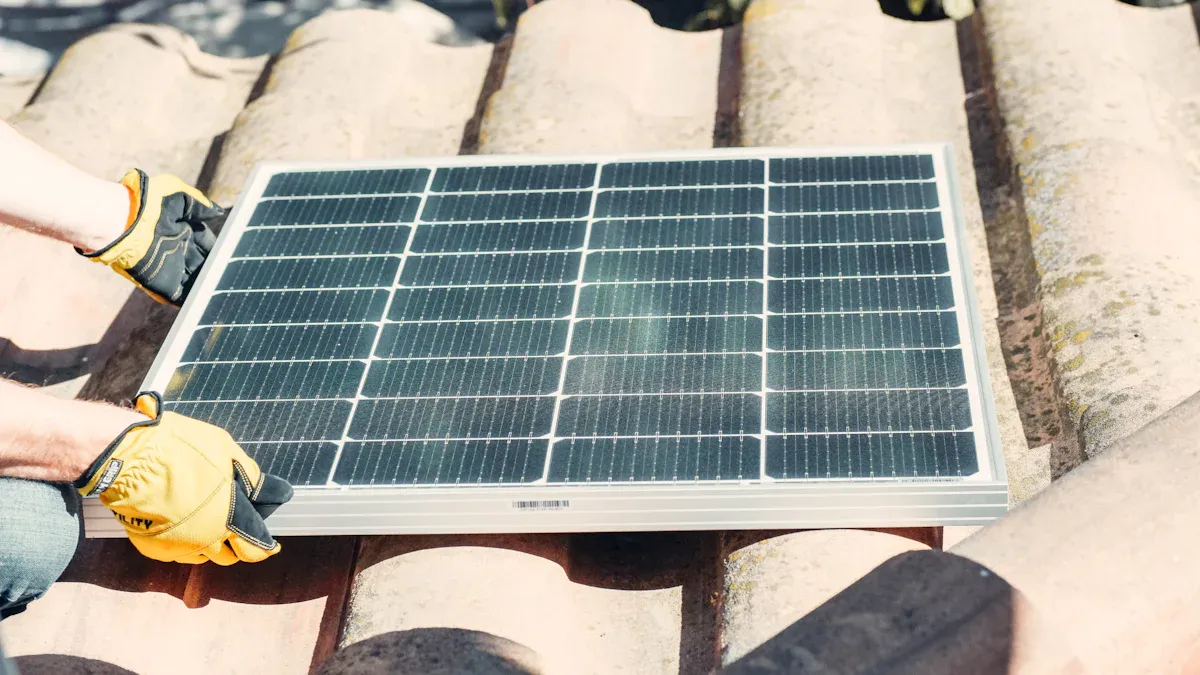
Preparation
Getting ready for your solar install makes everything easier. Here’s a simple checklist to help you start strong:
Remove the tiles where you plan to place the brackets. This gives you a clear workspace.
Find the rafters using a rafter locator. You want your hooks to sit on solid wood.
Adjust the hook height with a measuring tool. This helps your rails fit perfectly.
Pre-drill holes with a 3/16 inch drill bit. This step makes installation smoother.
Apply sealant in the pre-drilled holes. This keeps water out and protects your roof.
Task | Tool Needed | Purpose |
|---|---|---|
Remove tiles | Hands/Tools | Clear workspace |
Locate rafters | Rafter locator | Secure hook placement |
Adjust hook height | Measuring tools | Assure fit with rails |
Pre-drill holes | 3/16 inch drill bit | Ease and precision |
Apply sealant | Sealant gun | Prevent water ingress |
Tip: Always check that your pre-drilled holes line up with the rafters. This gives your brackets a strong hold.
Ensuring Waterproofing
You want your roof to stay dry for years. Start by inspecting the underlayment. This layer sits under the tiles and keeps water out. If you see any damage, fix it before you install anything. When you drill for the lag bolt, use malleable flashing and plenty of sealant. This protects the main water barrier. If you break a tile, replace it right away. Broken tiles can let water in and cause leaks.
Note: The underlayment is your roof’s first defense against rain. Make sure it’s in good shape before you add solar panels.
Fast Install Advice
You can speed up your install and keep your roof safe by choosing the right brackets and materials. Flat tile brackets work best for flat tiles and use strong metals like aluminum or stainless steel. S-shaped tile brackets match the curve of S-shaped tiles and spread weight evenly. Interlocking tile brackets fit many styles and let you adjust during install.
Material | Properties |
|---|---|
Stainless Steel | Strength, corrosion resistance |
Aluminum | Lightweight, weather durability |
Pick brackets that match your tile type and roof shape.
Use heavy-duty materials for long-lasting installs.
Confirm each hook is stable before you put the tiles back.
😊 Quick installs start with good prep and the right tools. Take your time to check each step, and you’ll get a leak-free result with your tile roof solar mounting brackets.
You’ve got three great options for tile roof solar mounting brackets. ClickFit is best for fast installs. EcoFasten stands out for waterproofing. QuickBOLT wins for speed and simplicity. Before you choose, think about your roof’s age, material, and local codes. Look for brackets made from strong materials and check supplier warranties. Want to get started? Visit supplier websites to request samples or drawings. You can send an inquiry for OEM options, too. 👍
FAQ
What makes no-drill tile roof solar brackets better?
You avoid breaking tiles or causing leaks. No-drill brackets save you time and keep your roof safe. You get a clean look and a faster install.
Can I use these brackets on any tile roof?
Most brackets fit clay, concrete, and S-shaped tiles. You should check your tile type before you buy. Some roofs need special adapters.
How long does a typical install take?
You can finish most installs in 20 to 45 minutes per bracket. Ready-to-deliver kits help you work even faster.
Do I need special tools for installation?
You usually need basic hand tools. Some systems use snap-in rails or pre-installed bolts. You won’t need heavy equipment or drills.
